5 Yoga Poses Every Cyclist Should Practice To Improve Their Ride
Written by Steve Sampson, RYT-500, ERYT-200
I was a cyclist long before I ever tried yoga. When I found my way to the mat, I thought yoga was just going to be an occasional “stretching” activity to help improve my cycling performance. Although I quickly developed a passion for the philosophy and broader practices of yoga, I did find that certain physical yoga postures (or asanas) were just what I needed after long hours in the saddle. In today’s article, I’d like to focus on one particular area where I experienced this benefit: my back.
Cycling Posture 101
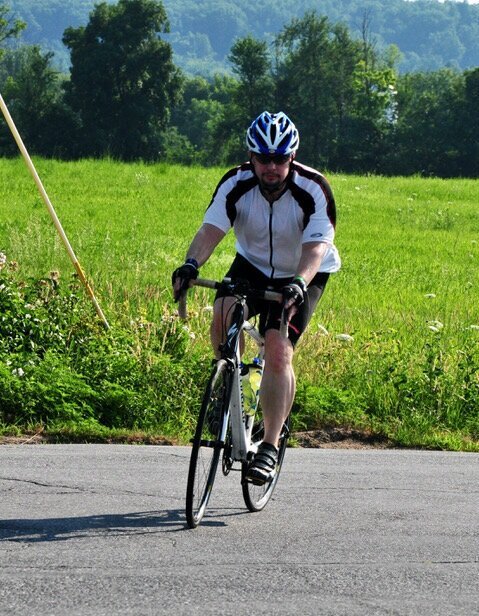
If you ride a typical road bike, you’re likely spending a lot of time seated with your body basically in a forward fold (or flexion). Depending on your unique anatomy and mobility, much of that flexion on the bike comes from folding at the hip, rounding forward from the lower spine, or a combination of the two. Extended time in this position can result in imbalances, with the tissues along your spine undergoing prolonged periods of lengthening, and a corresponding shortening of the tissues in the abdominal area. Your shoulders and chest may also feel tight from all the time spent with your arms forward on the handlebars, supporting your upper body. Now, you’ll want to set yourself up for success by ensuring your bike is sized and adjusted properly…but the fact remains, even with a good bike set-up, all that time spent riding is going to take its toll.
I find that long, passive postures are very beneficial to return balance to my body during the cycling season. The following yin yoga sequence from my personal practice can be completed in under 30 minutes. While the emphasis is on the spine and torso, these poses also have benefits for the legs and hips, another problem area for cyclists given the constant, repetitive motion of our pedal stroke. You’ll need a yoga blanket or beach towel for this practice, and yoga blocks would be great if you have them.
Need a quick refresher on the yin style of yoga practice before you roll out your mat? Check out my earlier article, Yin and Restorative Yoga: The Receptive Side of Practice. A key thing to keep in mind during these longer holds in yin yoga is that we’re working with just a mild to moderate sensation in the target area of each pose. Time spent in the pose, rather than intensity of effort, is key. Also, please consider my timings for each pose to be a suggestion. Tune in to your personal experience of each pose, coming out if the intensity of what you’re feeling builds beyond what you can comfortably work with for the suggested time.
The Sequence:
1) Reclined Butterfly with support under the spine (time: 4 minutes)
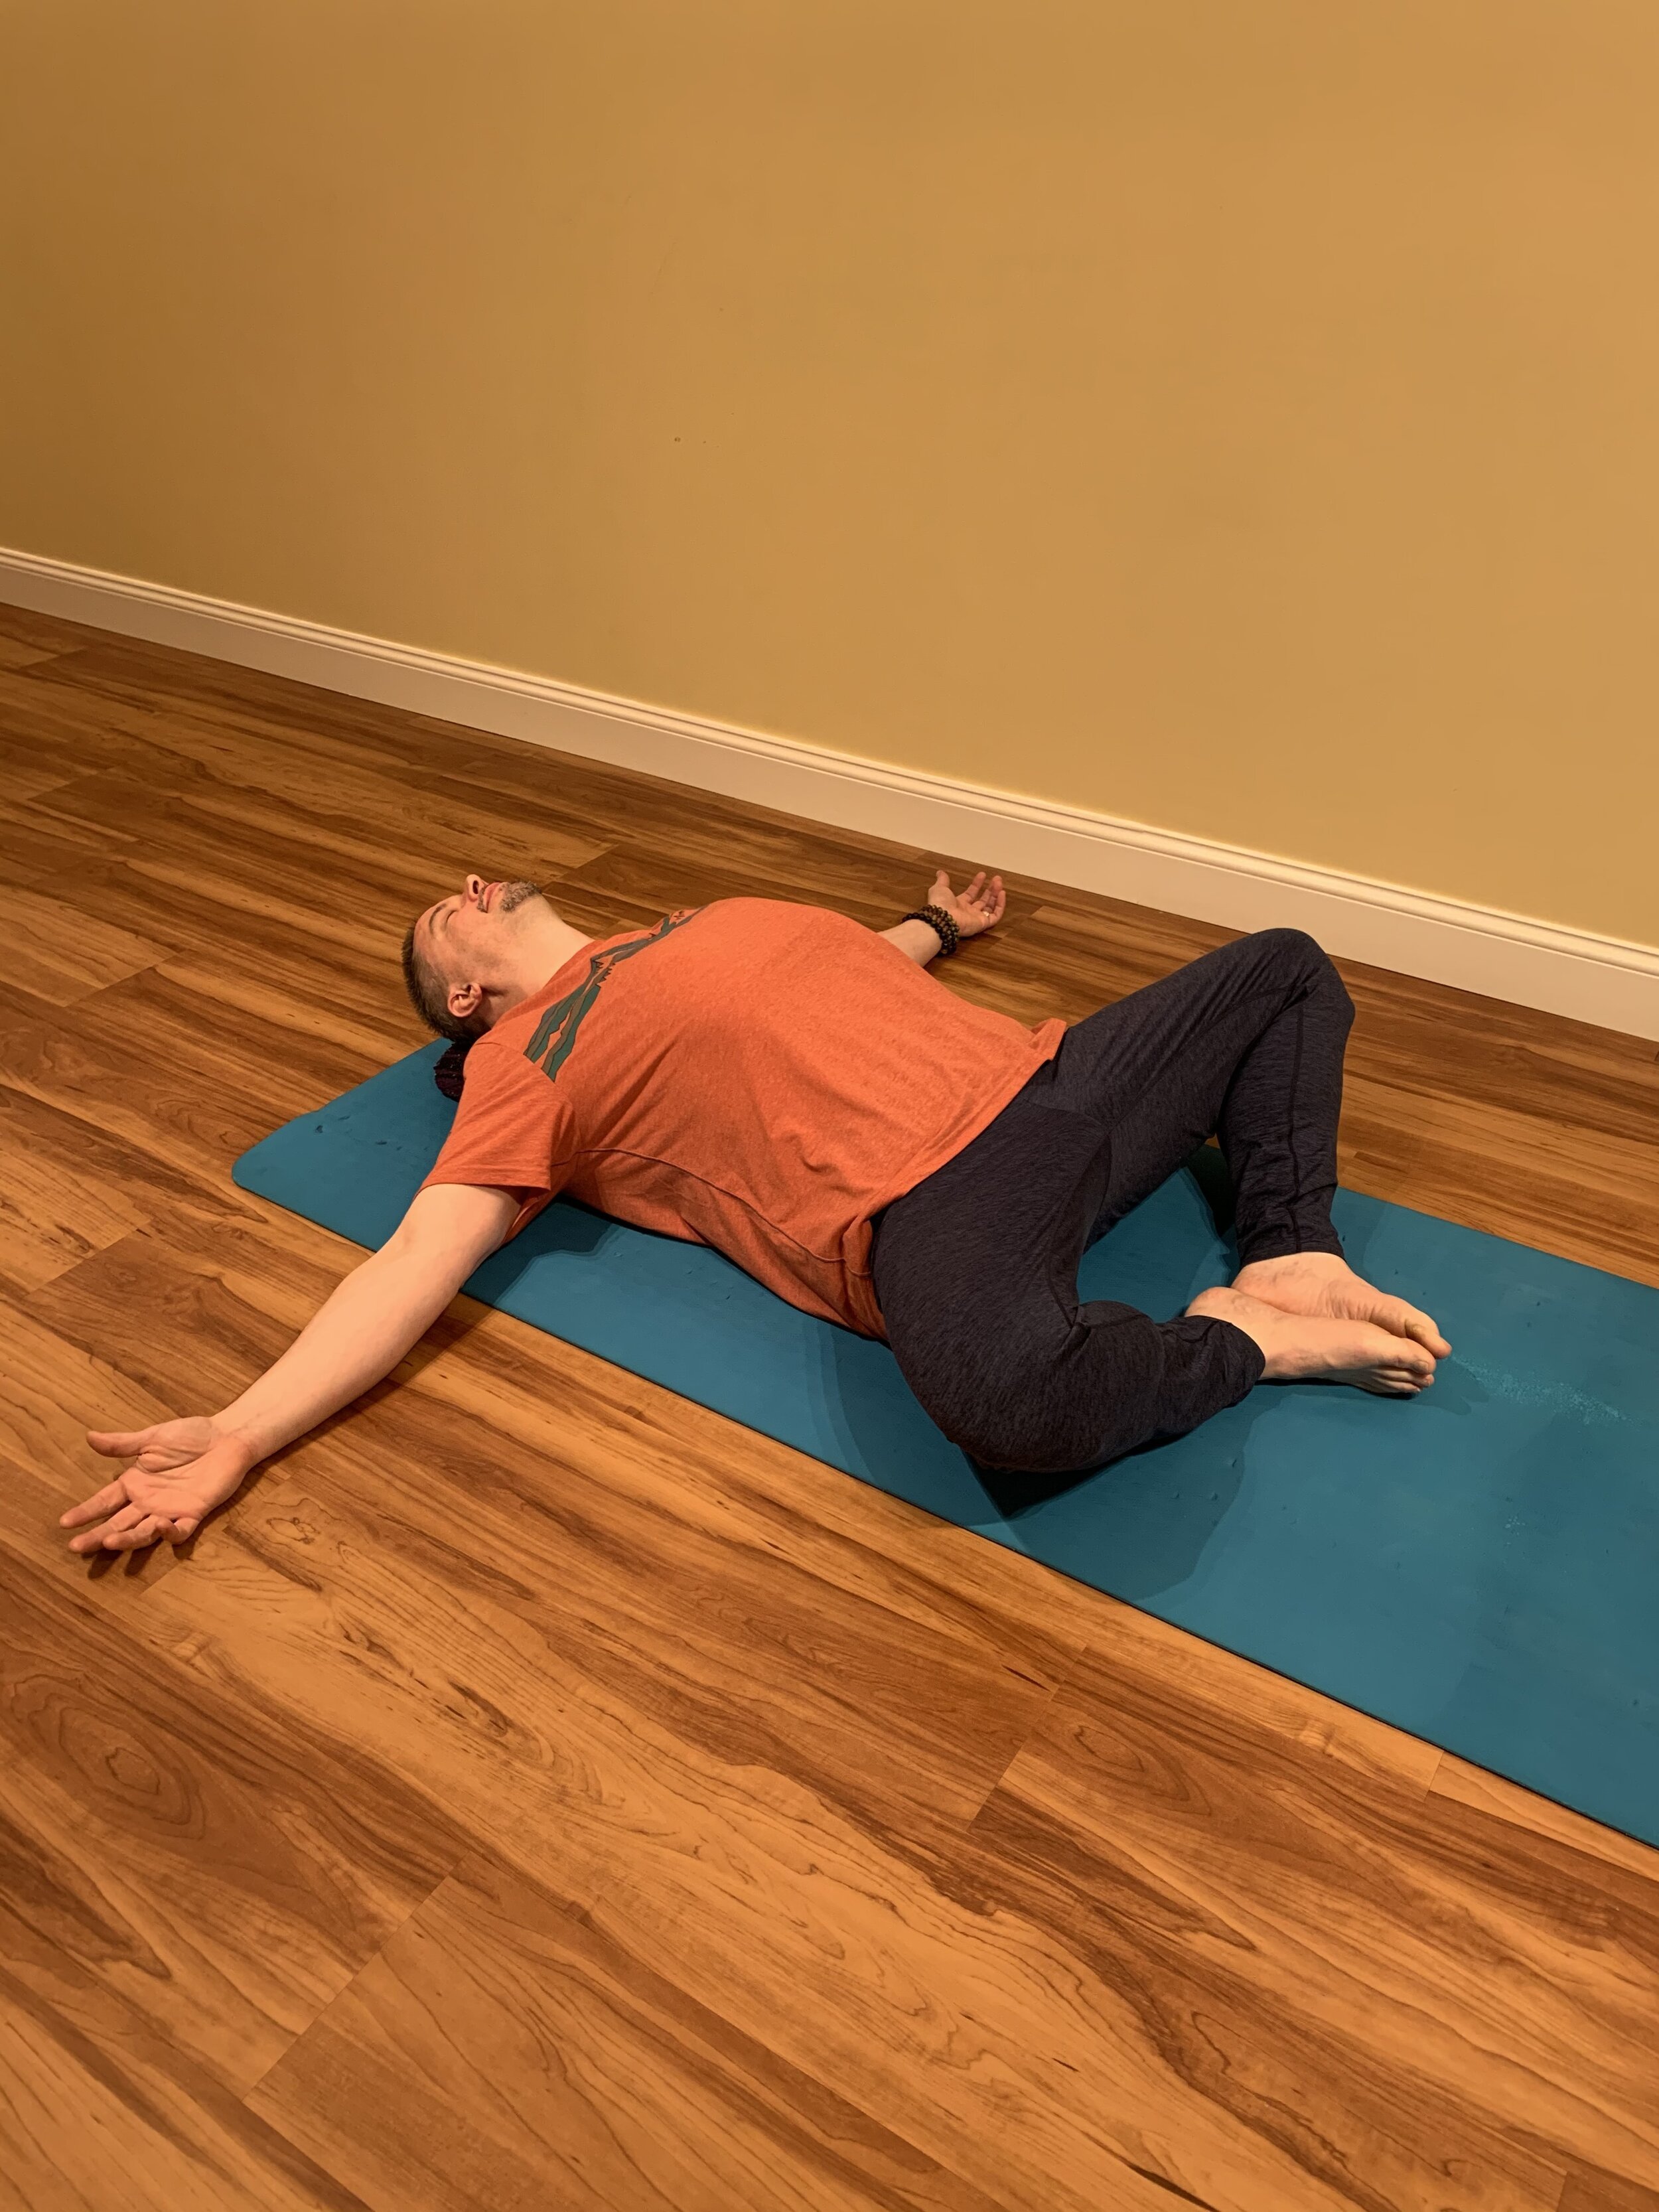
Targets include: backbend in lower spine, opening across the shoulders and chest, lengthening the adductors on the inner leg, external rotation and opening of the hips
Start by rolling your blanket or towel into a long tube-shaped bolster. Sit on your mat with your hips just in front of the rolled blanket, and (using your arms for support), lie back onto the blanket. It should be positioned to support your spine and head, so that your head is not dropping back onto your mat. This will create a backbend in the lower spine and allow your shoulders to drop down towards the mat, creating an opening across the heart. Bring the soles of the feet together, knees opening to the sides. Too much backbend? Feel free to play with the height of the support by unrolling some of the blanket. To moderate the intensity of the pose for your legs and hips, a great choice is to position blocks or a cushion under your knees for support.
To come out of the pose, draw your knees back together, and gently roll off to one side of the blanket. Set that support aside, and return to lying on your back. I like to walk my feet to the edges of the mat and drop my knees together (a gentle internal rotation for the hip joint) for about a minute before moving on to the next pose.
2) Supported Bridge (time: 4 minutes)
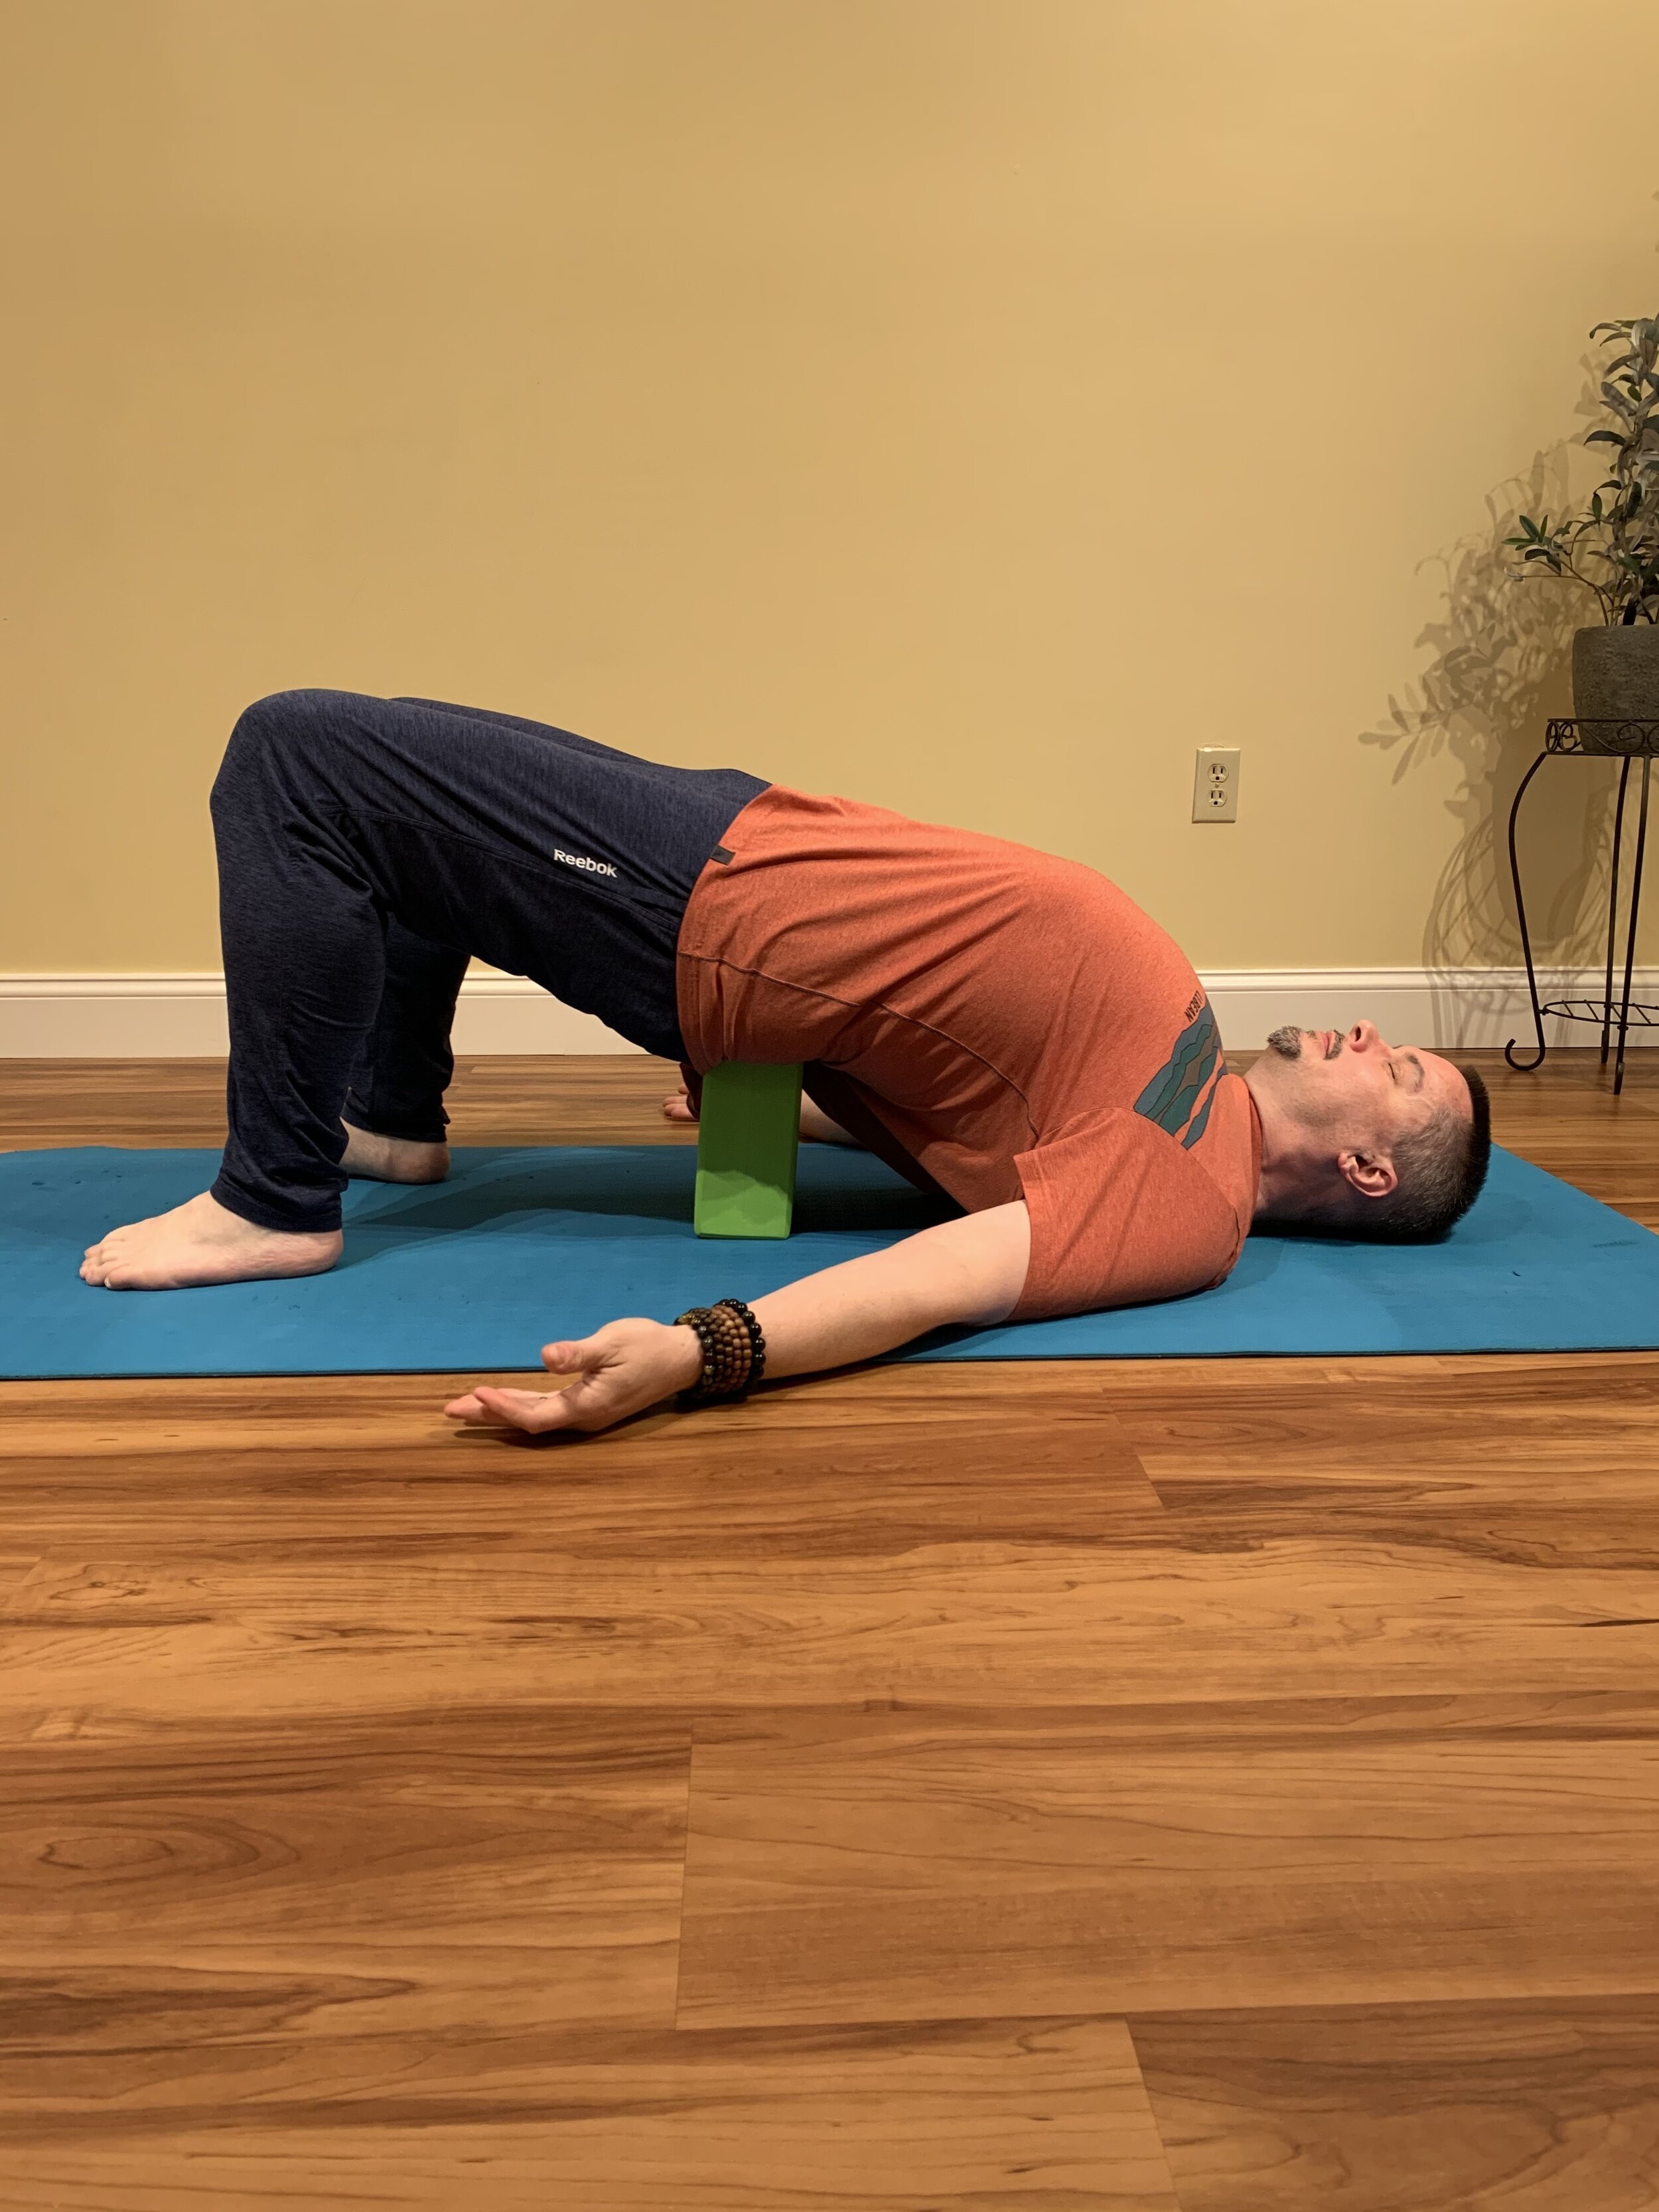
Targets include: backbend in lower spine, lengthening the front line of the body, opening for the hip flexors
For supported bridge, you’ll need a yoga block if you have one. Don’t have a yoga block? No worries…grab the blanket that you used for reclined butterfly, folding it up to approximate the shape of a block or square cushion.
Lie flat on your mat, bending your knees to bring the soles of your feet flat to the floor. Your feet and knees should be about hip distance apart, and your feet will start roughly under your knees. Lift your hips up just high enough to place your block or folded blanket under your sacrum. If you’re using a block, it can be positioned to create three different heights. If supported bridge is a new part of your practice, I recommend starting with the block in its flattest position, and check in with how it feels. You can always raise the block (or add more folds to your blanket) to raise your hips until you’re feeling a gentle stressing of the target areas. As an option, you can walk your feet a little further away from you to create more length along the front line of your body. If you explore that option, bring your feet back under the knees before coming out of the pose.
Come out of supported bridge by lifting your hips just enough to move your prop to the side, then lower your back to the support of your mat. Let your legs extend out long onto the mat, resting for about a minute with your spine in this neutral position before moving on to Half Butterly.
3) Half Butterfly (time: 3 minutes each side)
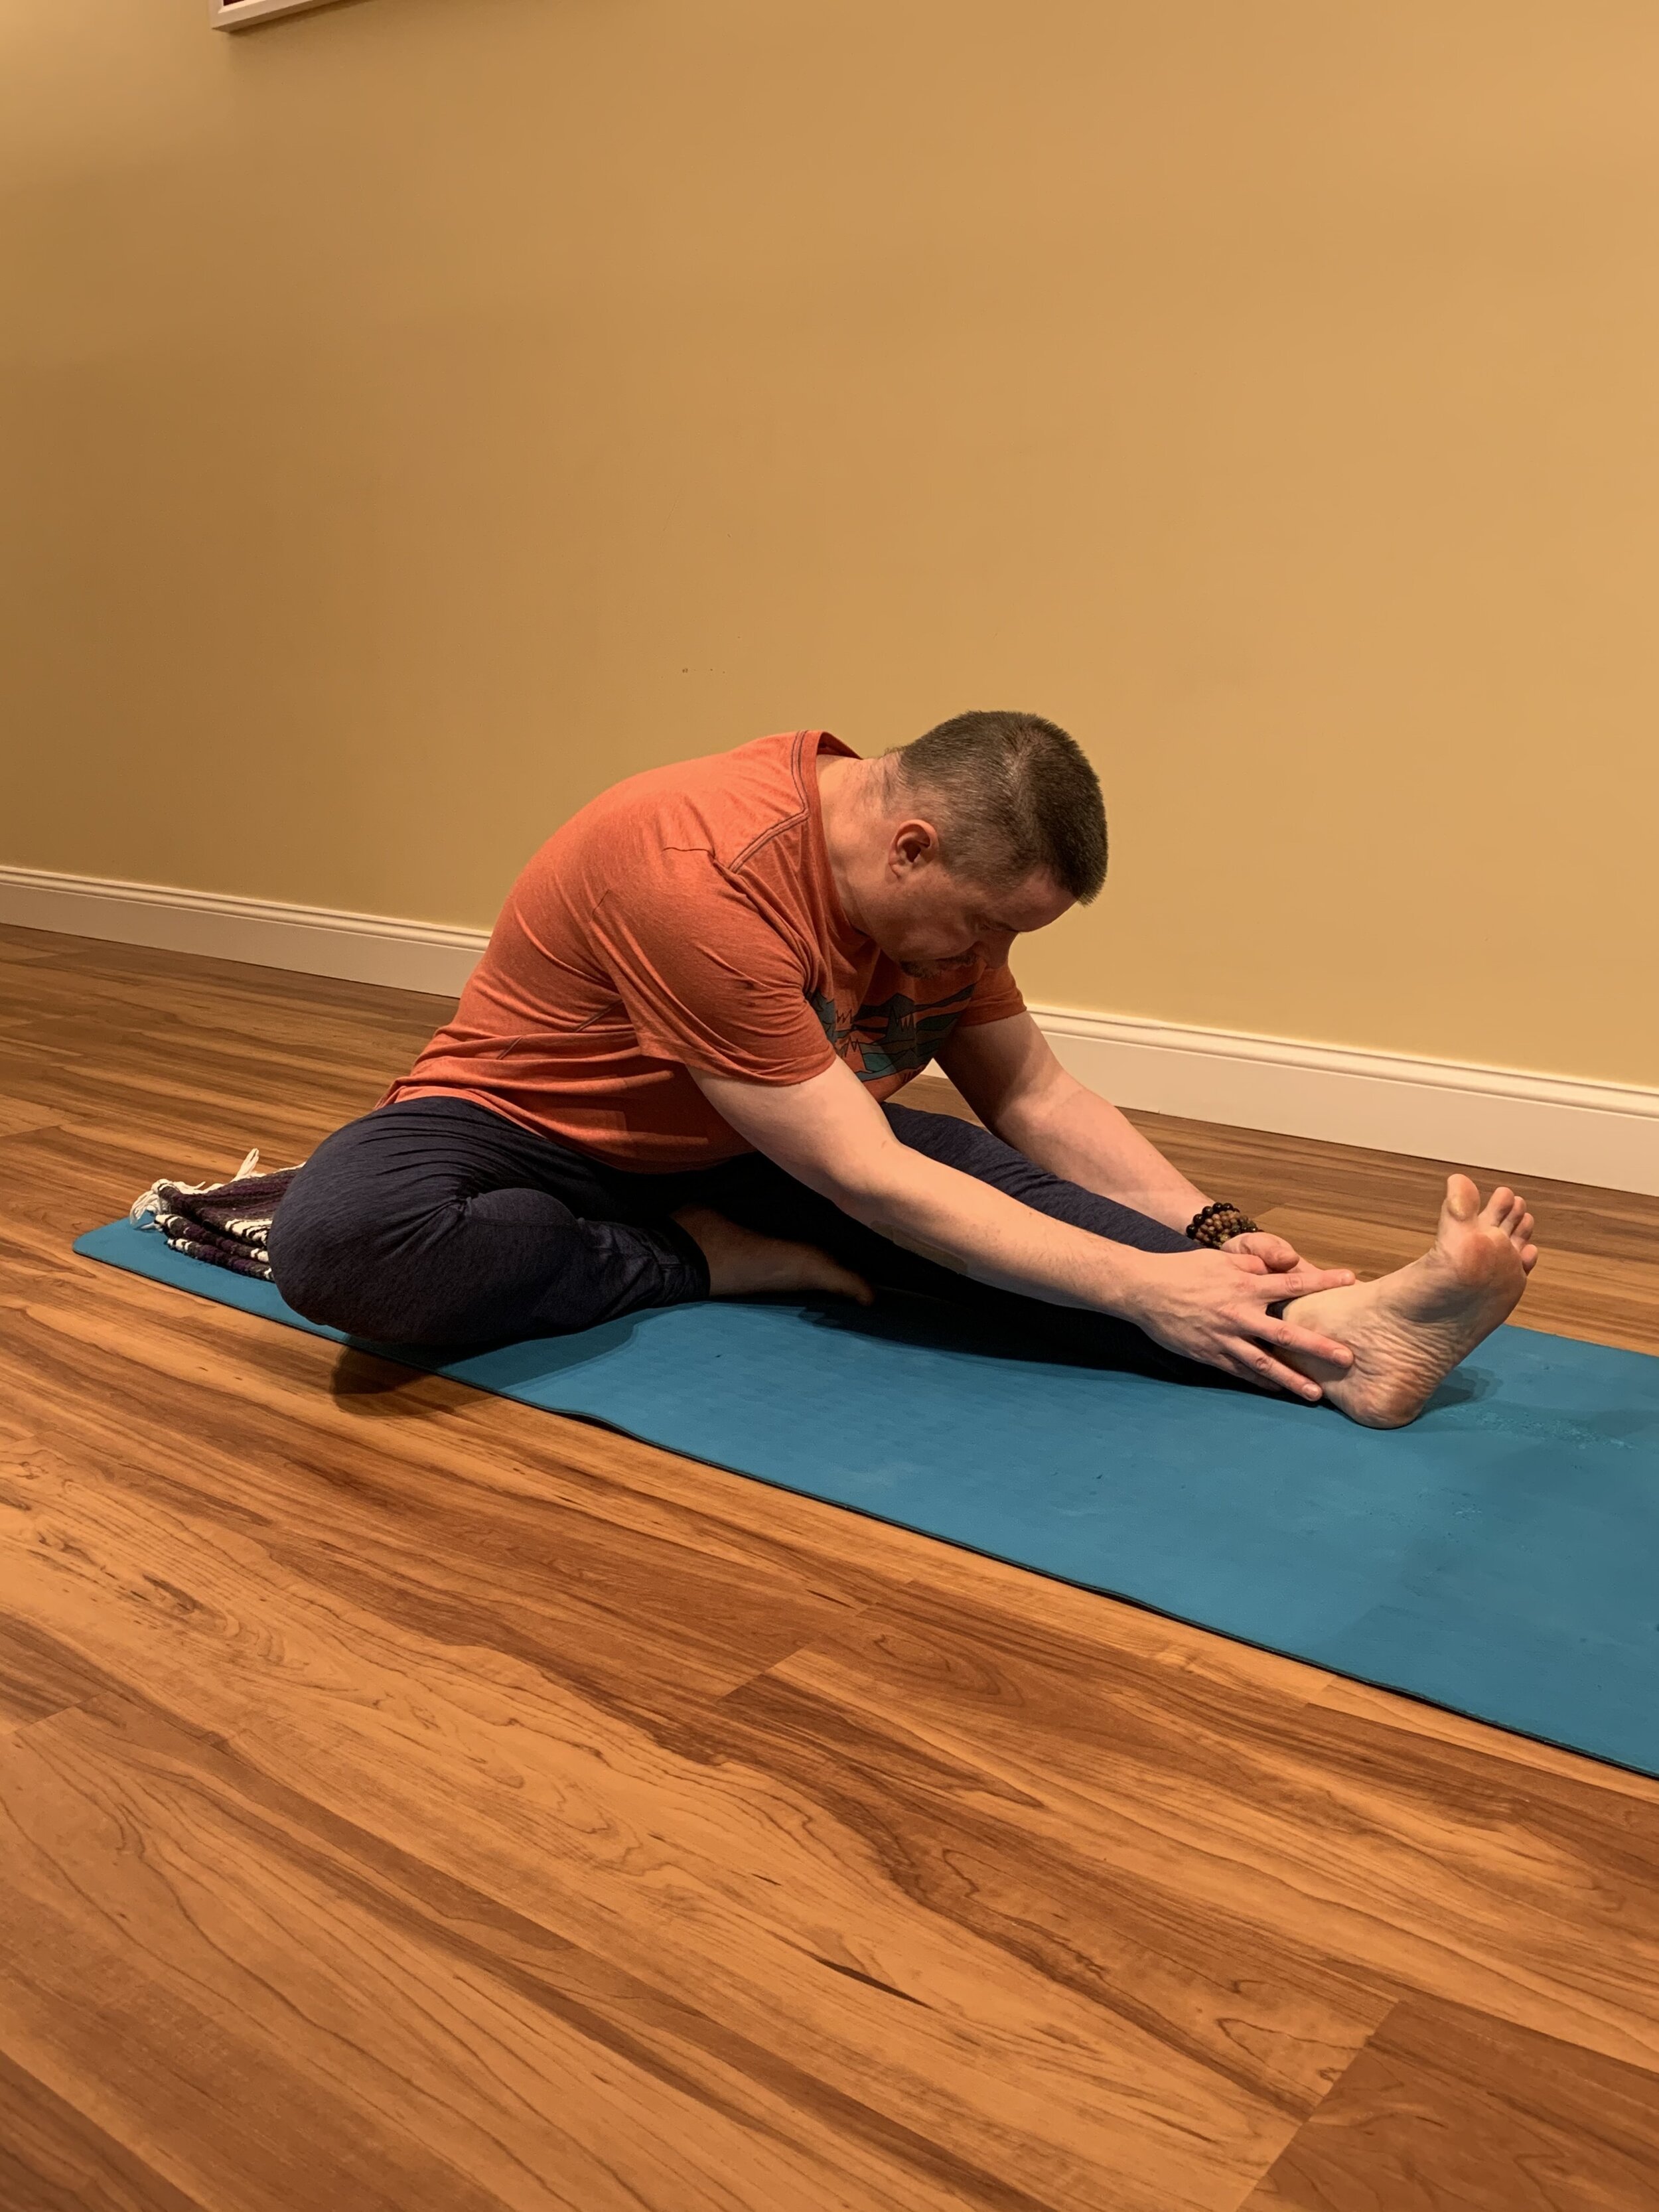
Targets include: Hamstrings, inner leg, hips
For half butterfly, come to a seated position on your mat. Sitting on your blanket can be helpful here to level off your pelvis and reduce strain in the lower back. I generally fold my blanket to add about an inch of height for this pose, but please experiment with other heights (or sitting without the blanket) to see what feels best in your body.
Keep your left leg straight, and bend the right knee. Open your right knee out to the side and bring the sole of your right foot along side the left leg. Fold forward over the straight left leg to lengthen along the back line of the body…the left hamstring is the focus, but you may feel this up into your back as well. And like our reclined butterfly pose, we’re opening the hip on the right side. Let your arms offer support for your upper body, with your hands on the floor, on the straight leg, or to a prop. Remember, this pose is about what you’re experiencing on the back line of the body, no need to get your nose to your knee!
Slowly rise out of your fold, using your arms for support, then repeat half butterfly with the right leg straight and left knee bent.
4) Sphinx (time: 4 minutes)
Targets include: Backbend for lower spine, lengthening the front line of the body
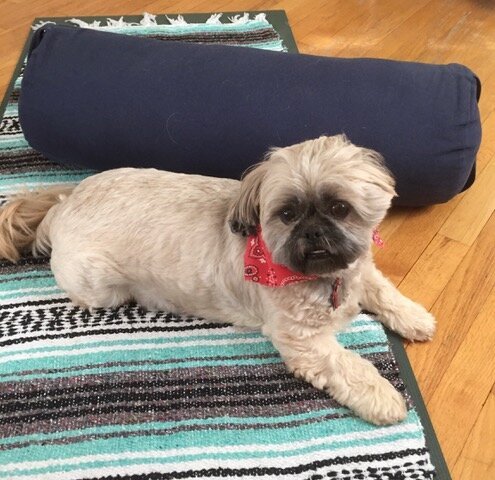
For sphinx pose, we’re lying back down on the mat, but this time with your heart facing down towards the floor. Move into sphinx by bringing your elbows to the mat, positioned under your shoulders to start. Your heart will lift away from the mat, creating a backbend in the lower spine and lengthening the front of your body. (Unlike my assistant Wicket, your gaze will be forward, rather than looking off to the side. )
Check in with how this feels in your lower back. There may be some compression in the lumbar area, but you shouldn’t feel pain. To work with less backbend in your sphinx pose, move your elbows further forward, lowering your heart closer to the mat. Want to increase the backbend? Try using your folded blanket to support under your elbows and forearms, raising the upper body and increasing the extension in your lumbar spine. Typically in my own practice, when I reach this third backbend of the sequence, I do explore deeper sensation. But we all have a unique anatomy to start with, and then our bodies have had different experiences on top of that. Always tune in to what you’re experiencing in the pose and choose what feels right for your body.
Lower down from sphinx, bringing your forehead down onto your stacked hands (making a little pillow). Rest here with a neutral spine for about a minute before rolling onto your back for a reclined twist.
5) Reclined Twist (time: 3 minutes each side
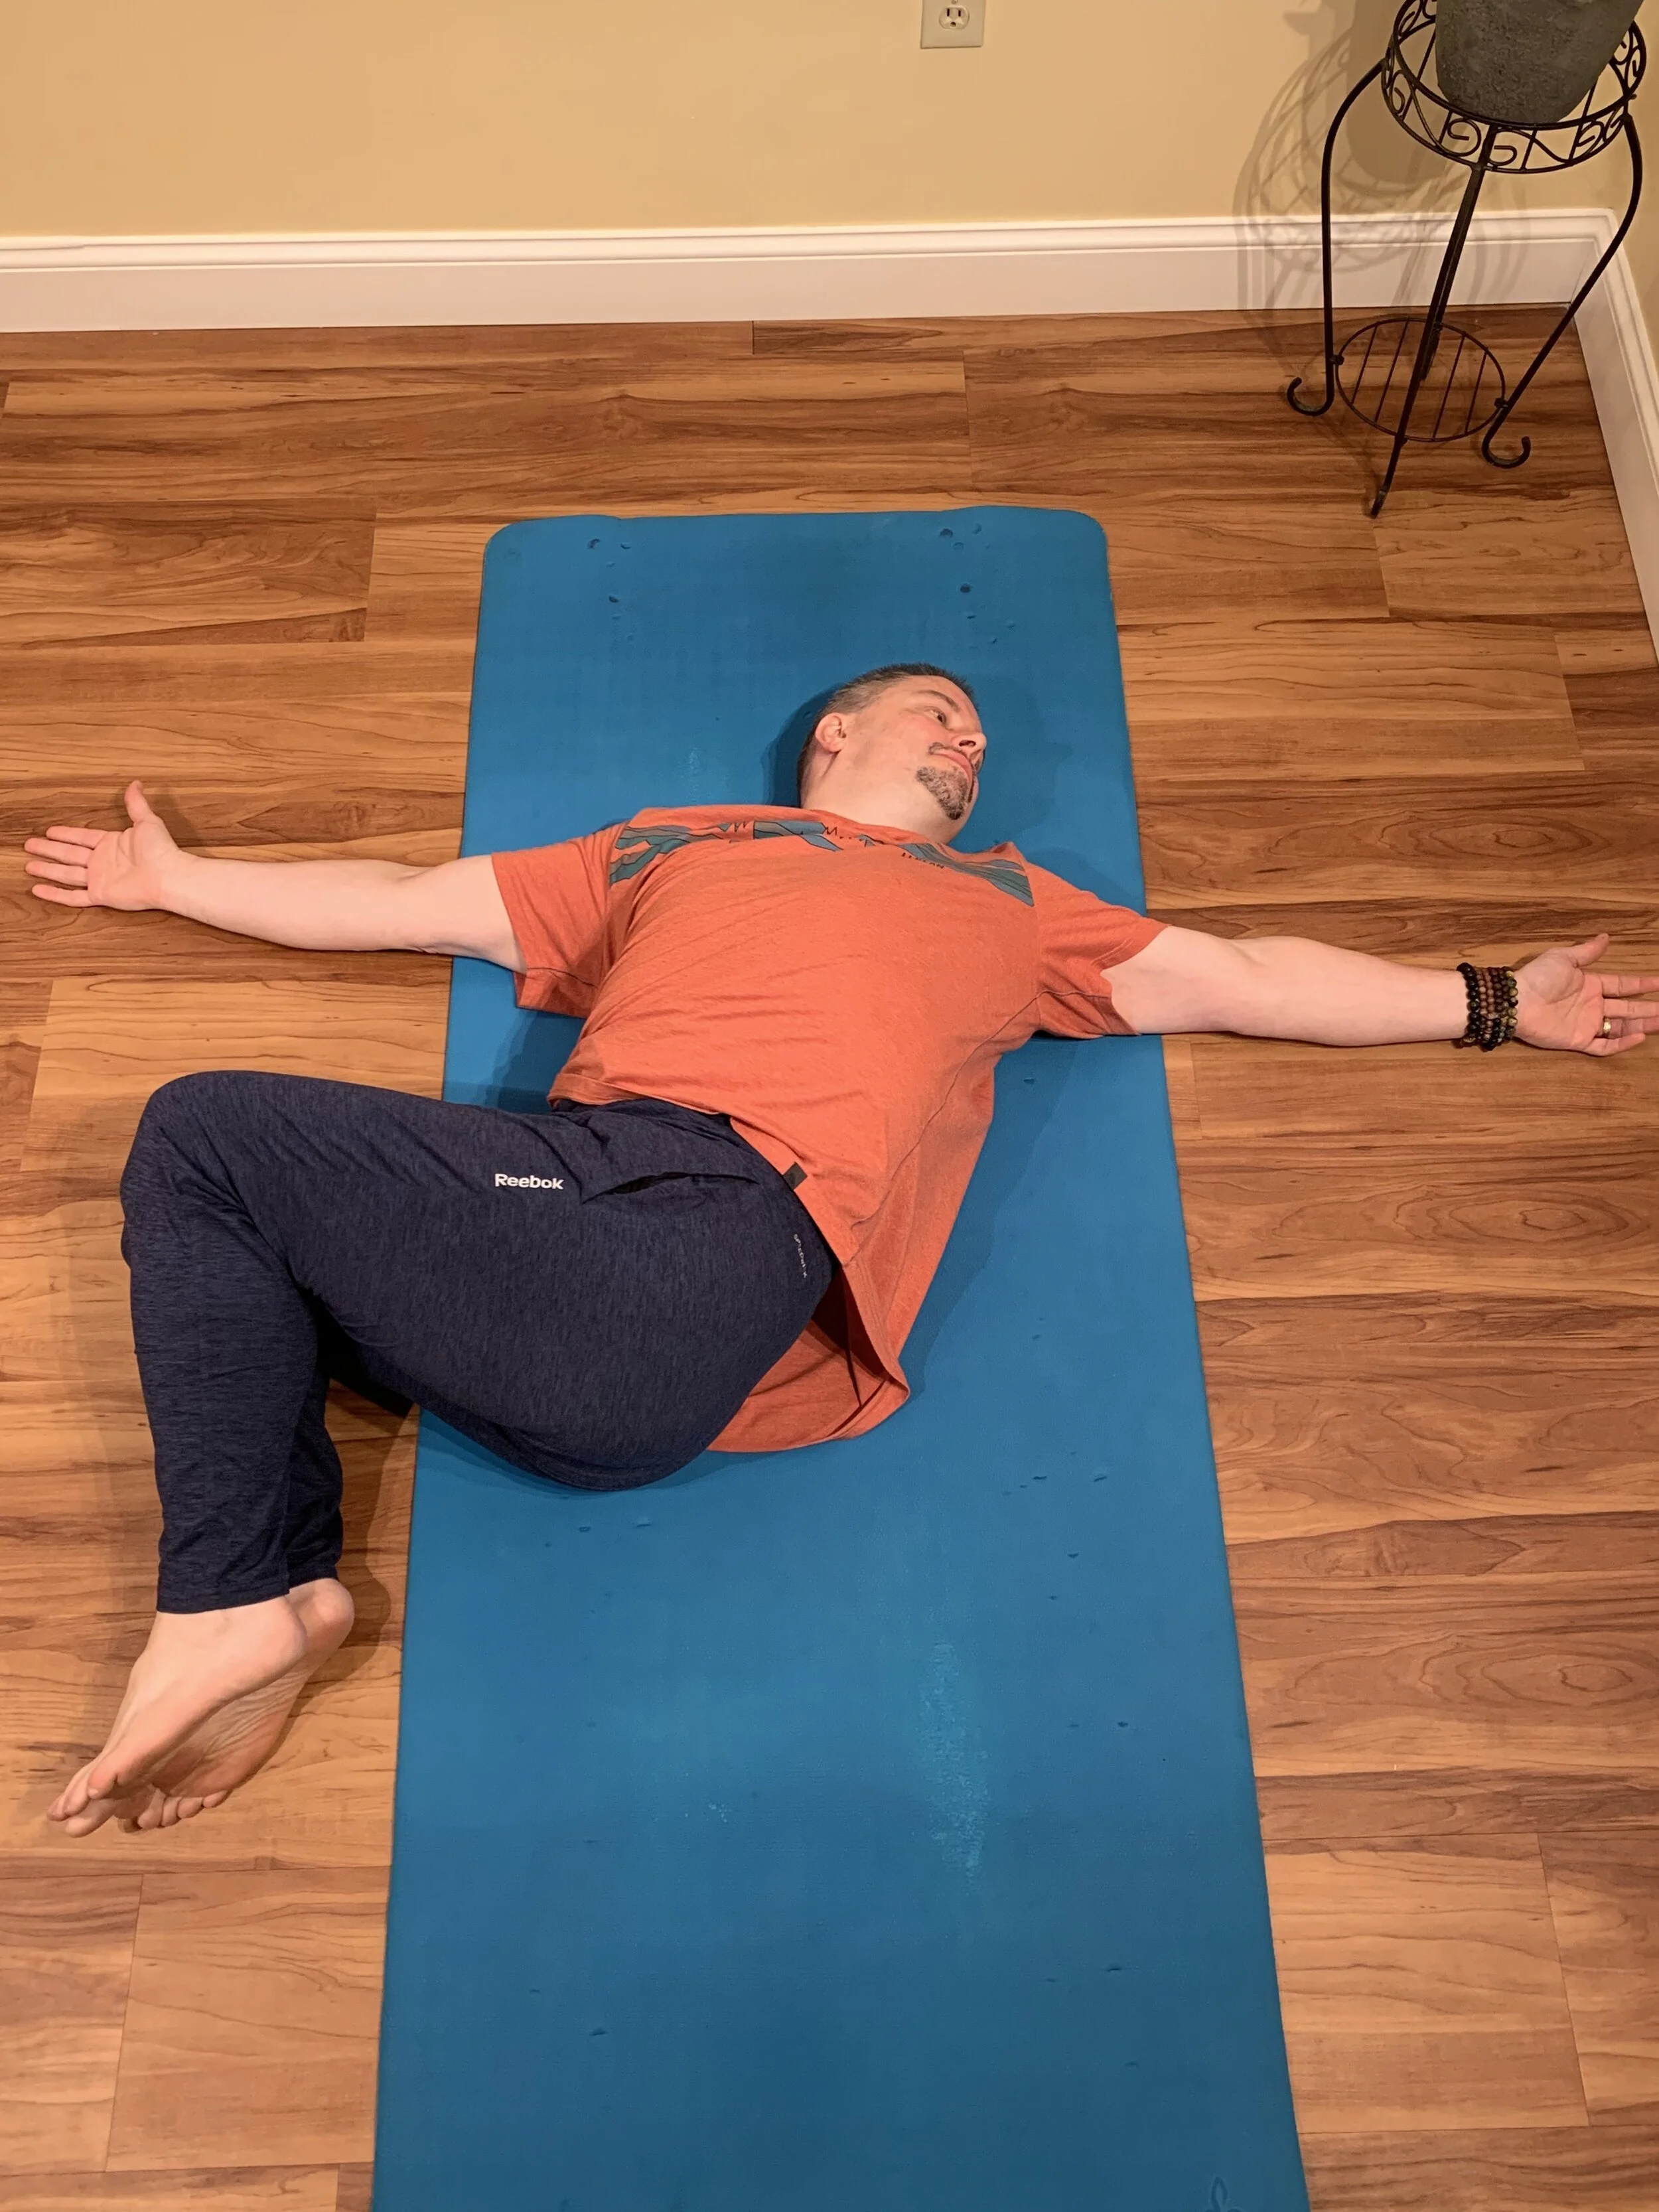
Targets include: spinal rotation, opening across the chest, lengthening obliques
I love to finish my practice with a reclined twist. Lying on your back, draw your knees in towards your chest, and lower them over to the left, keeping your shoulders on the mat. If your knees don’t naturally reach the floor, use your folded blanket or a yoga block to provide support underneath the left knee. Once any support is positioned, bring your arms out to your sides, palms facing up. Your gaze can stay centered, or let the twist come up into your neck as well by turning your head over the right shoulder.
Check in with how this feels. One option to experiment with is how closely (or not) your knees are drawn in towards your chest. Bringing the knees in closer generally shifts sensation towards the upper spine, and may deepen the sense of lengthening along the right side of your torso. Having your knees further from your chest will generally shift sensation to the lumbar spine, and may reduce that lengthening on the side body.
To come out of your twist, slowly bring your knees and gaze back to center, being mindful of any props that were supporting you. Repeat the twist to the second side.
After the second side of your twist, extent your legs out long onto the mat, and take a few minutes to relax in savanna….then go get back on your bike!

Steve Sampson has been teaching since 2014 and is a 500-Hour Registered Yoga Teacher as well as a 200-Hour Experienced Registered Yoga Teacher.
He is best known for exploring the physical, energetic, and philosophical practices of yoga with an emphasis on pursuing functional health and holistic wellness.
Head over to Steve’s Site to learn more!